Tuesday, November 30, 2010

Vacuum sealing, my first attempt and a product review


Alright, I have stepped out of my normal routine to try something new, and of course, I will not be the only beneficiary of this. There is a product review at the end, so if that is what you are looking for, make haste with the scroll bar.

If however, you want the how to as well, check out the pics and easy to follow steps.

I had the luck of getting tons of free candy, and I like that.

Today so far I have done 3 different types of mint gum, bubble gum, and Nerds Rope.


Step 1: Gather what ever it is you will be sealing, in this case, Nerds Rope.

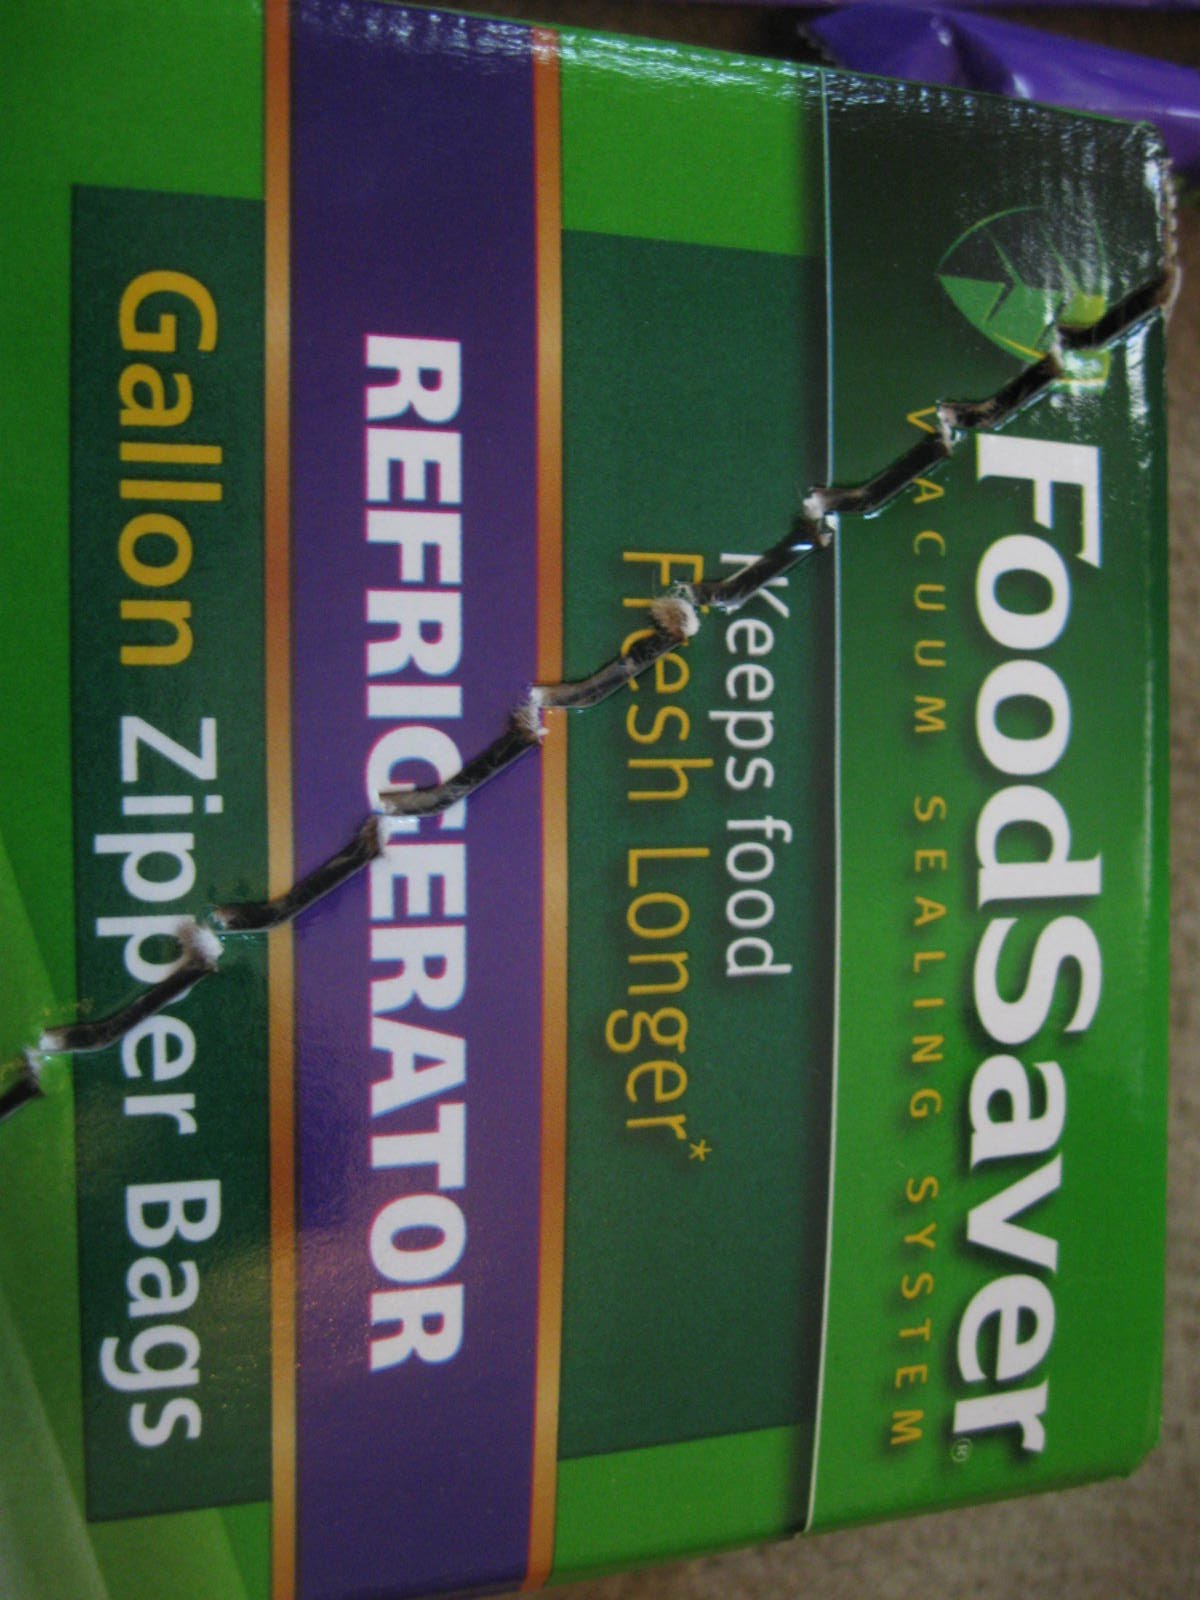
Step 2: Fill the bag, I used the gallon size, with the contents.


Step 3: These bags are like zip locks with a valve. Zip the top, locate the valve and put the hand-held sucker on the valve to remove air.


Complete! You can see in the back ground the complete bag of Nerds Rope, but for now, Gum!

Double mint

Spear mint


Finished products
Wintergreen finished product

Nerds Rope

Bubble Gum


The Vacuum sealer of choice was this little $20 model from wal mart. I was not expecting much so overall I was surprised with how well it worked.

The first assumption I had was that it would not get enough air out. I was surprised too see it got a sufficient amount out of the bag, and the bags appear to be holding the air out. The second assumption I had, was that these were 1 time use bags. However, I see no reason why you would not be able to reuse these bags, over and over. the part to reach failure first would be the zip lock top I would assume.

I will say, when new, it has no battery charge, or very very little, and it takes forever to charge up. Once charged it only gives a short amount of vacuuming power. This was the most frustrating part, Unwrapping by hand all the gum, just to find out that the device had only charged enough to suck half the air out of the bag. I found my self wanting this to go faster to the point that I started sucking extra air out of the bags with my mouth, so I would not waste what little charge this device held on the easy to vacate air.


My biggest concern with vacuum sealers is the cost of bags. This concern was calmed when I discovered these bags can be reused. The store had 12 gallon sized bags, the same price as 20 quart sized bags. I figured at the same price of $8.83, go with the larger overall size the gallons offer.

When I can stuff I pay 83 cents for the jar, lid, and ring. This is for quart sized jars, again, you get more space for your money using quarts vs. pints. These bags come out to 44 cents each for the quart, and have even a slightly better space to cost ratio when you buy the gallon size. At about half the price these bags are a great investment. True you cant use this for storage of asparagus, unless you have tons of unoccupied freezer space, but in the case of Nerds Rope and gum, these bags at half the price are the best option I've seen.

I will say I am working to perfect a technique that will yield these same results for about 3 cents rather than 44, but again, I am perfecting the technique, meaning its been a pain in the butt, and has yet to produce solid results. Once I get it working I'll post it here, but for now, this is a very viable option.

Monday, November 29, 2010

The most basic thing to pressure can, Asparagus!


Today for a quick how to, we will be doing asparagus. I only had one quart worth of produce which is rarely worth my time, but as it tuned out I only had one canning jar left as well so I figured I'd do it for the sake of a learning experience.


Step 1: Get some water boiling, do the next steps as you wait.


Step 2: Wash or rinse produce.


Step 3: Cut to length to fit in jar. As a whole the stalks were an inch or two too long, so I cut the bottoms off and threw them in the canning jar.


Step 4: Fill the jars with the water once it gets boiling.


Step 5: Place in pressure canner with 10 pounds of pressure and start the clock once the weight starts rocking (The pressure will blow steam out of the nipple of the lid, causing the weight to rock, this is how you know to start the timer).

Timer 25 minutes


While you wait grab a snack, or dinner.

Step 6: Complete. Once the timer goes off, turn the heat off, wait for the pressure caner to settle and cool, then you will have your finished product.


Tuesday, November 23, 2010

This is what I do for fun


I have a friend who is clearing some land, mostly small pines, and offered to let me come test my knot tie-ing skills, and general creativity.

I came up with a rather large triangular multi-story tree house.

Its still far from done, but after a little work, you can start to see the general shape.


This is the ladder to be. You can see we have 2 and 1/2 rungs so far. Above you can see the platform of the house. the logs to the right are in place, and the logs to the left are awaiting proper placement.

Again you can see the floor being built.

This is the view once up on the floor. The logs I am sitting on are not in their permanent positioning. Just up there ready for staging.

This has been a fun way to spend my afternoons and keep different knots fresh in my memory. Its been a great workout too.

Sunday, November 21, 2010

What are you cooking on?


I sometimes get scrutinized by family for doing things that appear to be useless or unnecessary. When I was living with my dad, coming home with 3 pick up truck loads of wood was one of these times.

I filled our small shed to try to keep the appearance of our yard clean and tidy, but he still did not understand the need for wood. He thought it was one of my crazy endeavors that served no purpose.

The real reason is that I happen to have 200 Lbs+of each of the following. Rice, Wheat, Oats, Pasta, Potato Flakes, Corn, etc.

When things get bad, I don't plan on being able to use my stove. My grill has half a container of propane, and that will go very quickly. I have maybe 2 Lbs of charcoal briquettes laying around, and you all know how many meals that will cook me....

So my question is, are you like I was, and still currently am to a degree, stock piling food that will need to be cooked but overlooking what you will be cooking on? This was a mistake I had made for along time. Luckily CraigsList is a huge resource for free wood, and I was able to get a small start on a major problem that could have been.

Thursday, November 18, 2010

Beans, canned of course


Alright, in order to keep some fresh content up, here is a very short tutorial on canning beans. Its short, cause its so easy.

Step 1: Select beans, I used black and Great Northern


Step 2: Put beans in pot and add water.


Step 3: Soak beans over night. then rinse them, and boil for 30 min.Strain but save the cooking water.


Step 4: Put beans in jars, fill with cooking liquid, wipe jar rims, add lids and bands, pressure cook for 90 min on 10Lbs pressure. Done.


:)

Sunday, November 14, 2010

The Survival Mind Set, and a lesson to learn from


Recently my work hosted a rather large public Bar B Q with a turn out of around 2,300 people. The event was very nice in the fact that everything from food, the venue, drinks, tables and chairs etc, were all donated.

At the conclusion of the event, the announcer informed everyone that the left over food, drinks, and snacks were available for the taking. There were crate loads of soda, tray fulls of chicken, potatoes, slaw, and hand sanitizer bottles on the tables.

It was almost mind boggling to see so many people swarm to the pavilion to take drinks, and food. The food was obviously already cooked, and the drinks were donated because they were a week away from expiration, not the this matters too much.

I immediately rushed to the eating area to collect as many bottles of hand sanitizer as I could. I collected arm full after arm full, thinking my idea would catch on and I would be fighting with the crowd to collect this, but I saw after my second trip to my truck, that not a single person cared for hand sanitizer. I slowed down a bit and finished collecting the bottles. I ended up giving away quite a few, but came home with 40 bottles each 18 ounces. That's 45 pounds of hand sanitizer.


The lesson I learned: While drinks are nice to have, ultimately soda is not what I want to be consuming when the SHTF. I will likely be eating lots of rice, oats, beans, and wheat, and not getting the right amount of certain vitamins every day. I am trying to remedy this by focusing on long term storage of more fruits and veggies, but to be a little realistic, I will not get 3-5 servings of fruits and veggies every day. The last thing I want is something so destructive to a diet, as a soda. However hand sanitizer after society has broken down, and a simple cut can get infected, will be worth a lot.

I learned, or relearned, how much people think about now, and not the future. I work with a friend who is pretty actively prepping, but he was one of the ones grabbing soda.

It takes more than just storing food, it takes the mind set. The thought process of turning everything around you into a way to better enable you to survive.

My last post was about canning pumpkin. I got over 400 pumpkins for free the day after halloween from the pumpkin patches that set up shop around town. I got scrutinized from a fellow prepper and friend for wasting my time and money canning these. I spend $0.76 on each can/lid/band. I have canned over 60 at this point for a total investment of $45.60. I have added lots of time, but this is time I would other wise be wasting watching tv, or being online. I would say that $50 for over 60 quarts of canned pumpkin is a great deal and even more so, when you figure I will reuse the jars and bands. I get lids for 8.3 cents each, and this is the only part that is going to be wasted for a total of $4.98. Again here, we see the mindset, the thought process that lead 60 quarts of canned pumpkin for less than $5.

Friday, November 12, 2010

Its Pumpkin time!


With Halloween gone, most of the pumpkin patches around here will liquidate all their left over inventory for free, just so they will not have to haul it back with them. Well, count your blessings and load up a truck. You will find if your pumpkins are the same size as mine, you will need 2.5 pumpkins per Quart of finished product.


Step 1: Step 1: Wash and skin. To be honest I did not wash them first..... Also get a pot of water boiling.


Step 2: Cut them in half and gut them. It pays to do this well. The guts are what make for bad pumpkin recipe's. They are gross, and now is the time to get the guts totally out. I have an old spoon that seems like a torture device, it is very thin and the edges nearly cut your mouth as you use it. Well, this was perfect for taking a thin layer of the inner pumpkin out.


Step 3: Cut the pumpkin into little blocks or cubes, no larger than 1 inch x 1 inch ((x 1 inch) if you have thick enough pumpkin to consider them cubes, rather than bricks.)


Step 4: Dump them into boiling water (refer to step 1) for 2 minutes.


Step 5: Strain the pumpkin and water, but SAVE the water. You will use it to fill the jars after the jars are filled with the flesh of the pumpkin. leave 1 inch head space. This is more than your normal fruit, because this has a greater volume expansion.


Step 6: Put your lids on, just not too tight. Remember in the processing of the jars, some air needs to escape, so just tighten the lids and bands firmly, but not like Hercules.


Now all that is left to do is the pressure canning. I live in an area that is at sea level so it took 10 Lbs. of pressure for 90 minutes. Its slow, but with 7 Quarts per cycle, it's worth it.


Now all I have to do is learn to use these in a good recipe :tongue:


Hope you enjoy. Please leave any good recipe's you may have for pumpkin bread, soup, or pie, Thanks!